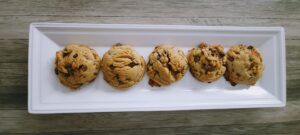

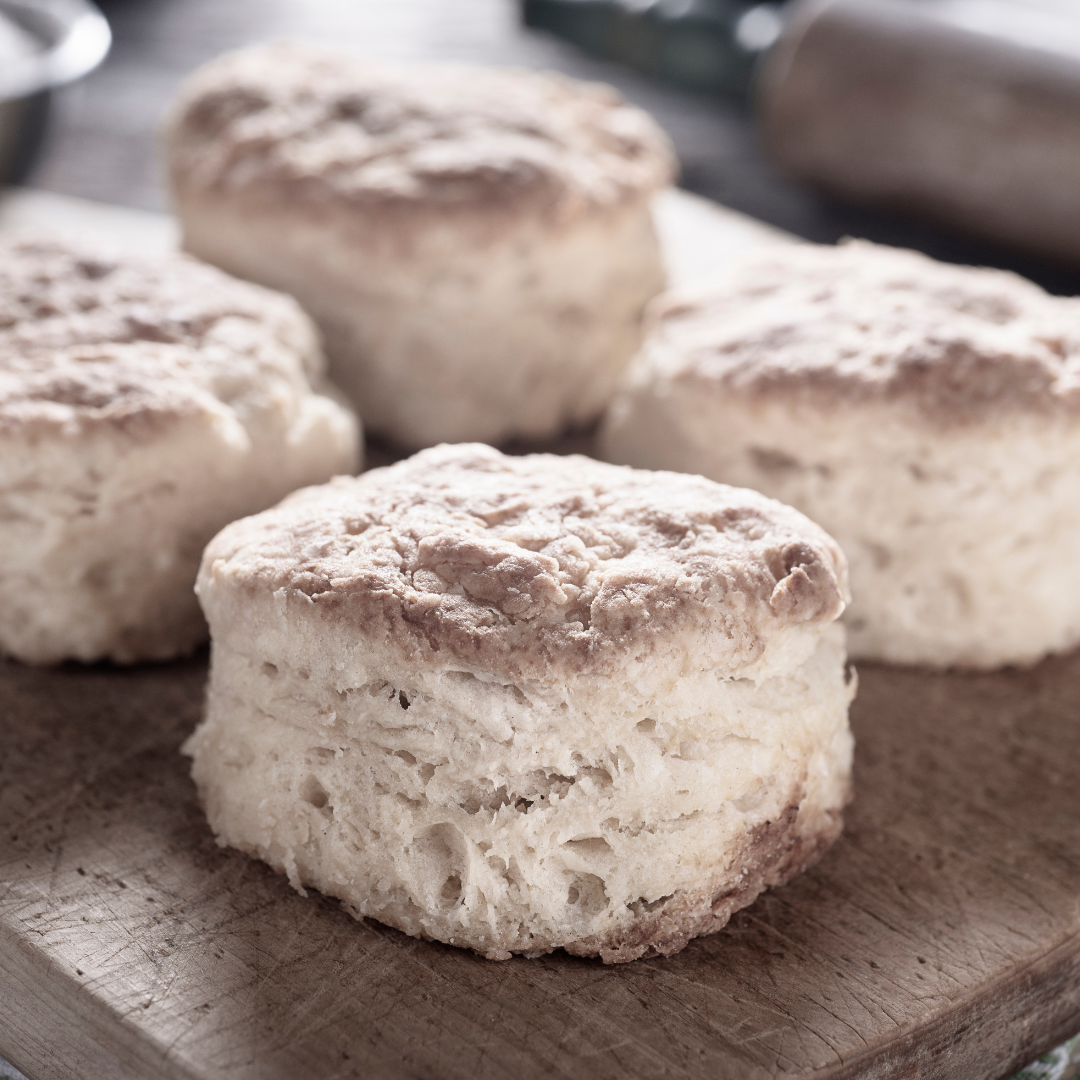
Montana Style Buttermilk Biscuits : The Craftsmanship of Simplicity
Hey, everyone! Today, let’s talk biscuits – but not just any biscuits, Montana-style buttermilk biscuits. Now, I’m no fancy baker; just a regular guy who appreciates the art of simplicity. So, why are these biscuits considered Montana-style? Well, let me break it down for you, step by step.
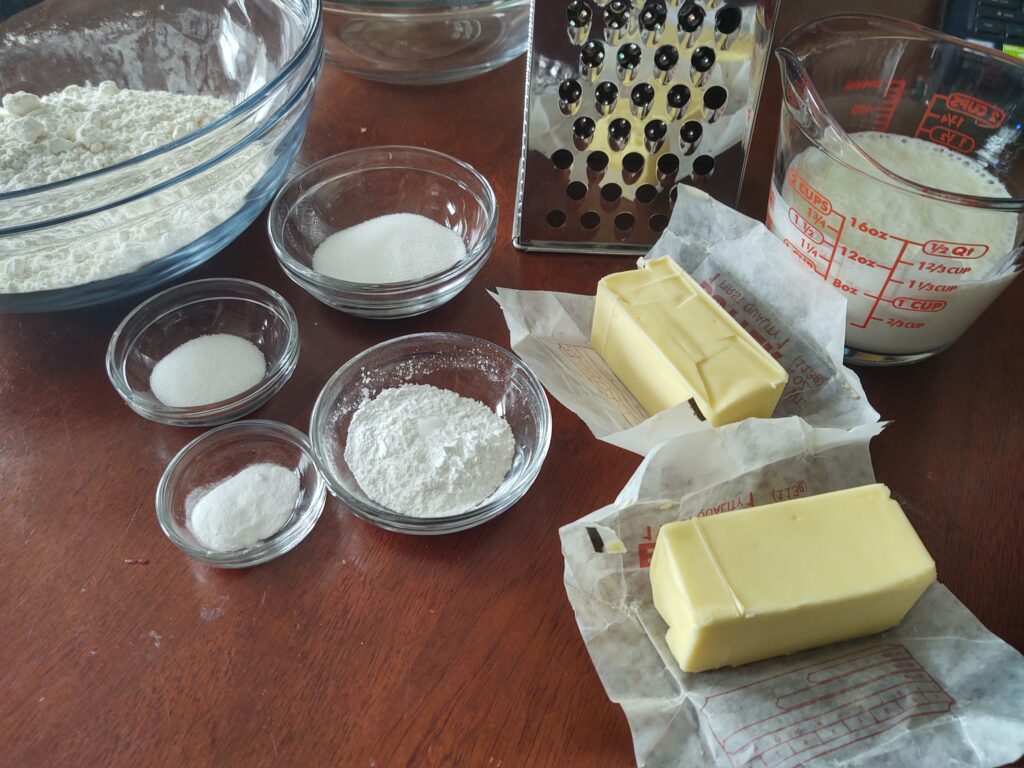
Ingredients: The Basics, Nothing More, Nothing Less
We’re not dealing with a laundry list of ingredients here, just the essentials:
- 3 cups flour
- 2 tablespoons sugar
- 4 teaspoons baking powder
- 1/2 teaspoon baking soda
- 1 1/2 teaspoons salt
- 2 sticks of butter
- 1 1/4 cups buttermilk
Preparation: Straightforward Steps for Montana Flavor
Preheat and Mix: Kick things off by preheating your oven to a solid 400 degrees. While that’s warming up, grab a large bowl and mix together the dry ingredients – flour, sugar, baking powder, baking soda, and salt. A simple whisking will do the trick.
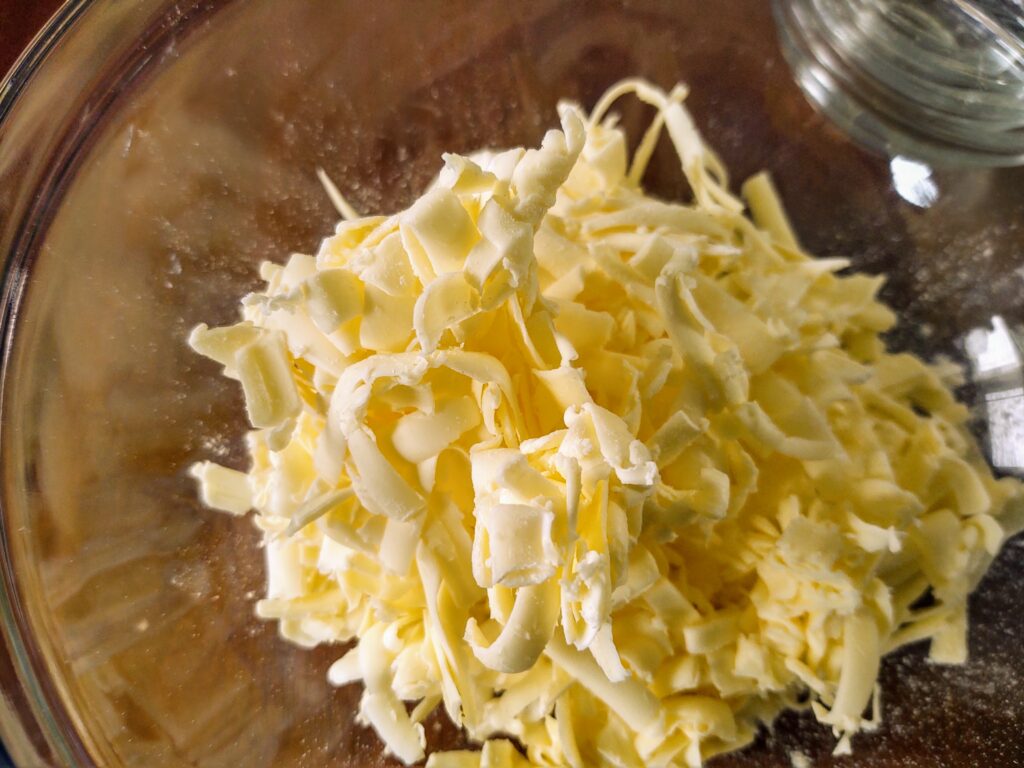
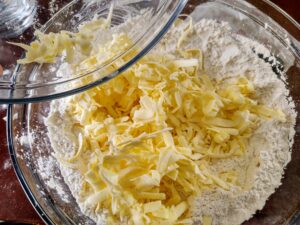
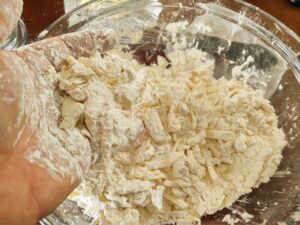
Butter Prep: Now, let’s talk about the star of the show – butter. Take two tablespoons from those cold butter sticks and set them aside. The rest of the butter? Get it coated in the dry ingredients, and here comes the Montana touch – grate it. (Yes, I know this is an old kitchen hack but it works great no matter what state you are in.) Yes, grate it into the bowl. Cold is the name of the game, so if things get a bit warm, a short stint in the fridge will keep the butter in check. I have a Kitchen Aid version of this grater, but this is the style I used to grate the butter.
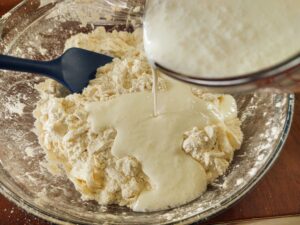
Mix It Up: Once your butter is nicely incorporated, it’s buttermilk time. No need to go crazy here – just mix until it comes together. It won’t be a tight ball; think more loose and crumbly.
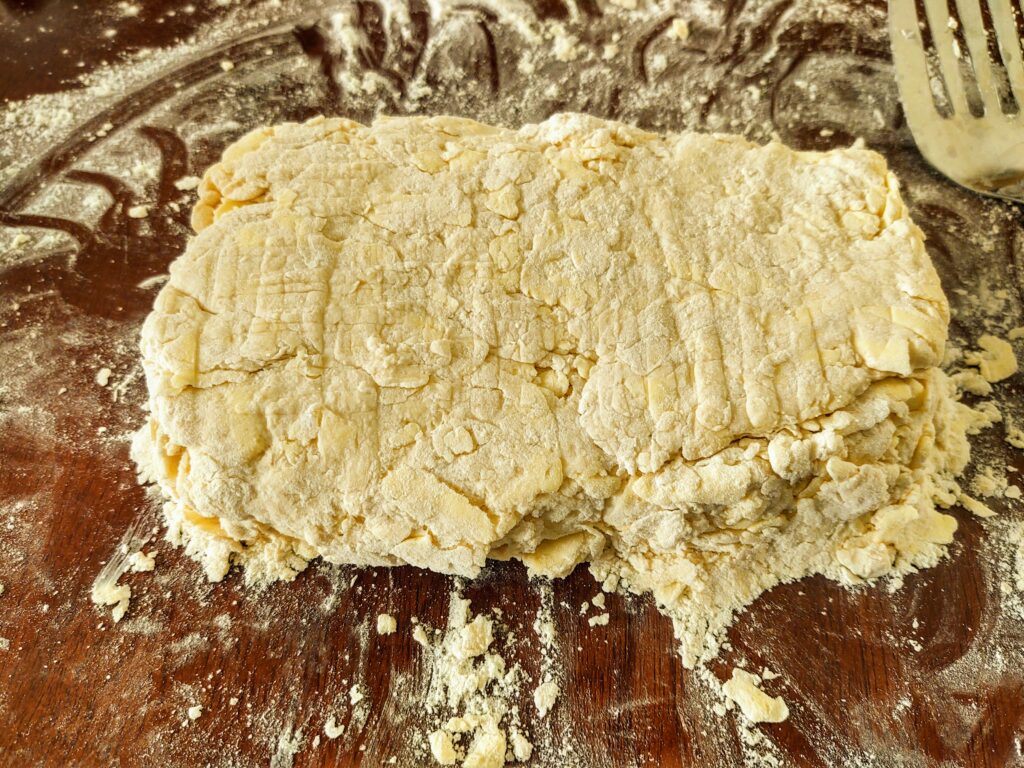
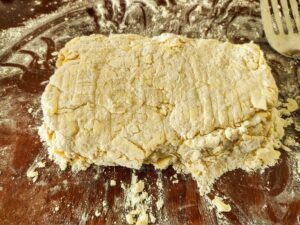
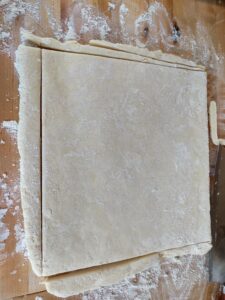
Shape and Fold: Dump that mix onto a floured workspace and bring it together into a square. Folding time! Imagine you’re folding a letter for an envelope – bottom half to the middle, then bring the top half down to meet it. Repeat this folding and rolling process five times. Roll it into an 8-inch square, cover it up, and let it chill in the refrigerator for 30 minutes.
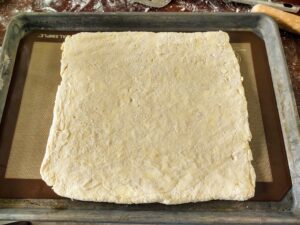
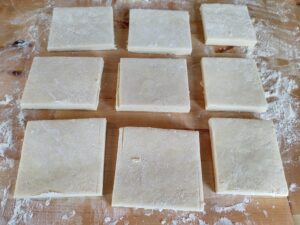
Trim and Cut: Back to the floured workspace, trim the sides with a sharp knife. This step is crucial – clean, cut sides ensure those layers rise during baking. Cut that square into nine even squares, and you’re almost there.

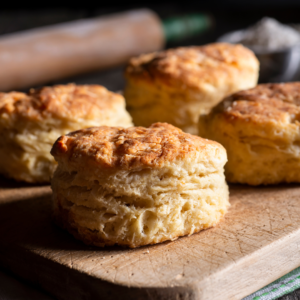
Bake and Brown: Finally, pop those squares onto a lined sheet pan, give them some space, and into the oven they go. Check at the 15-minute mark to see that beautiful browning. With all that butter, trust me, they will brown.
Why Montana Style? A Layman’s Take
- Cold Weather, Cold Butter: Montana knows cold, and these biscuits pay homage to that. Grating the butter keeps it cold and results in those beautiful, long strands that create the flaky layers Montana biscuits are known for.
- Simple Yet Precise: Montanans appreciate simplicity and precision. Folding, rolling, and trimming might seem like extra steps, but they ensure those biscuits rise just right, embodying the Montana ethos.
- No-Nonsense Goodness: It’s not about flashy ingredients or complex techniques. Montana-style biscuits are all about good, honest flavors and a straightforward approach to baking.
- Buttery Resilience: With all that butter, these biscuits come out resilient and golden brown, just like the spirit of Montana – sturdy, enduring, and a touch rugged.
I’d say, Montana-style buttermilk biscuits are a celebration of simplicity and craftsmanship. They capture the essence of Montana in every bite – from the cold butter to the straightforward preparation. Give them a try, and you’ll understand why these biscuits are more than just a recipe; they’re a taste of Big Sky Country in every delicious layer. These delicious Montana Buttermilk Biscuits go great slathered in this Savory Sausage Gravy recipe.
Montana Style Buttermilk Biscuits
Equipment
- 1 box grater
- 1 sheet pan lined with a silicone pad
- 1 Rolling Pin
- wet measuring cup
- dry measuring cups
- measuring spoons
- mixing bowls
- mixing spoons
Ingredients
- 3 cups flour
- 2 tbs sugar
- 4 tsp baking powder
- 1/2 tsp baking soda
- 1 1/2 tsp salt
- 2 sticks butter
- 1 1/4 cups buttermilk
Instructions
- Preheat your oven to 400 degrees, place the rack in the upper third of your oven.
- Mix dry ingredients together in a large bowl and whisk to combine.

- Remove two tablespoons from the cold butter sticks and set them aside.
- Coat the remaining butter sticks in the dry ingredients, and grate them into a bowl. Make sure the butter stays cold. The flour will help prevent your hands sticking or melting the butter to badly. You want the butter to have long strands. If it gets warm, refrigerate for 15 minutes.
- Add the cold butter to the dry ingredients, mixing to coat all the butter with the flour. Ensure that the butter is separated and in small pieces.
- Once the butter is incorporated, add the buttermilk. Mix until just combined. It will not be a tight ball. It will be very loose and crumbly.
- Dump the mix onto a floured workspace, and form into a square. Use a bench scraper or a metal spatula to bring it together. Using something metal will help prevent the butter from melting. It should be about 7×7 inches.
- Fold the bottom half of the dough square to the middle, and then bring the top half down to meet. This will resemble folding a letter for an envelope.
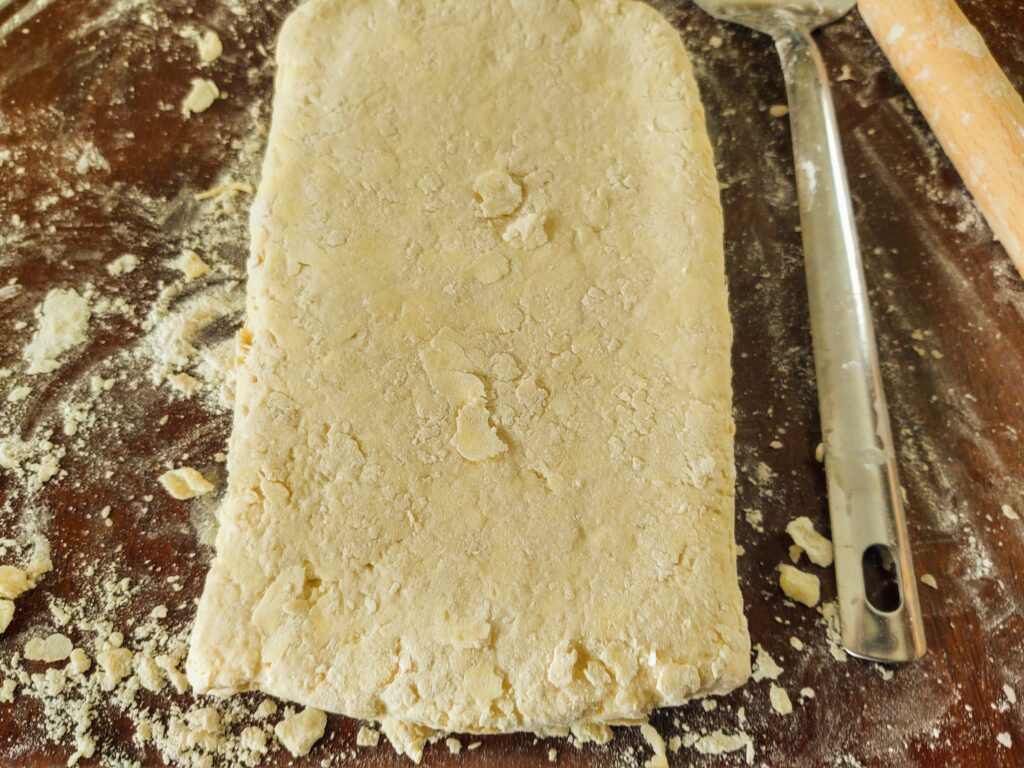
- Then roll it out, flattening it into a 7-inch square again. Do this folding and rolling 5 times. Then roll into an 8-inch square and cover with plastic wrap on a silicone or parchment-lined sheet pan for 30 minutes in the refrigerator.
- Remove and place on a floured workspace. Trim all the sides with a floured, sharp knife. This is important because the clean, cut sides will allow all the layers to rise during the baking process.
- Cut into 9 even squares and place on the silicone lined sheet pan, evenly space about an inch apart. You can also use a round biscuit cutter. Dip the cutters edge into flour and press into the dough in one swift push to the bottom. lift straight out and do not twist the cutter. This can seal the edges and prevent the layers from puffing.


 Chile Verde Sheet Pan Steak Fajitas
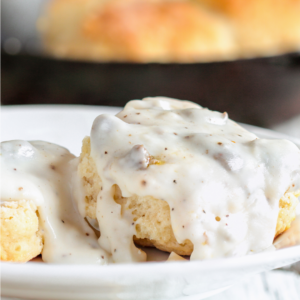 Savory Sausage Gravy and Biscuits